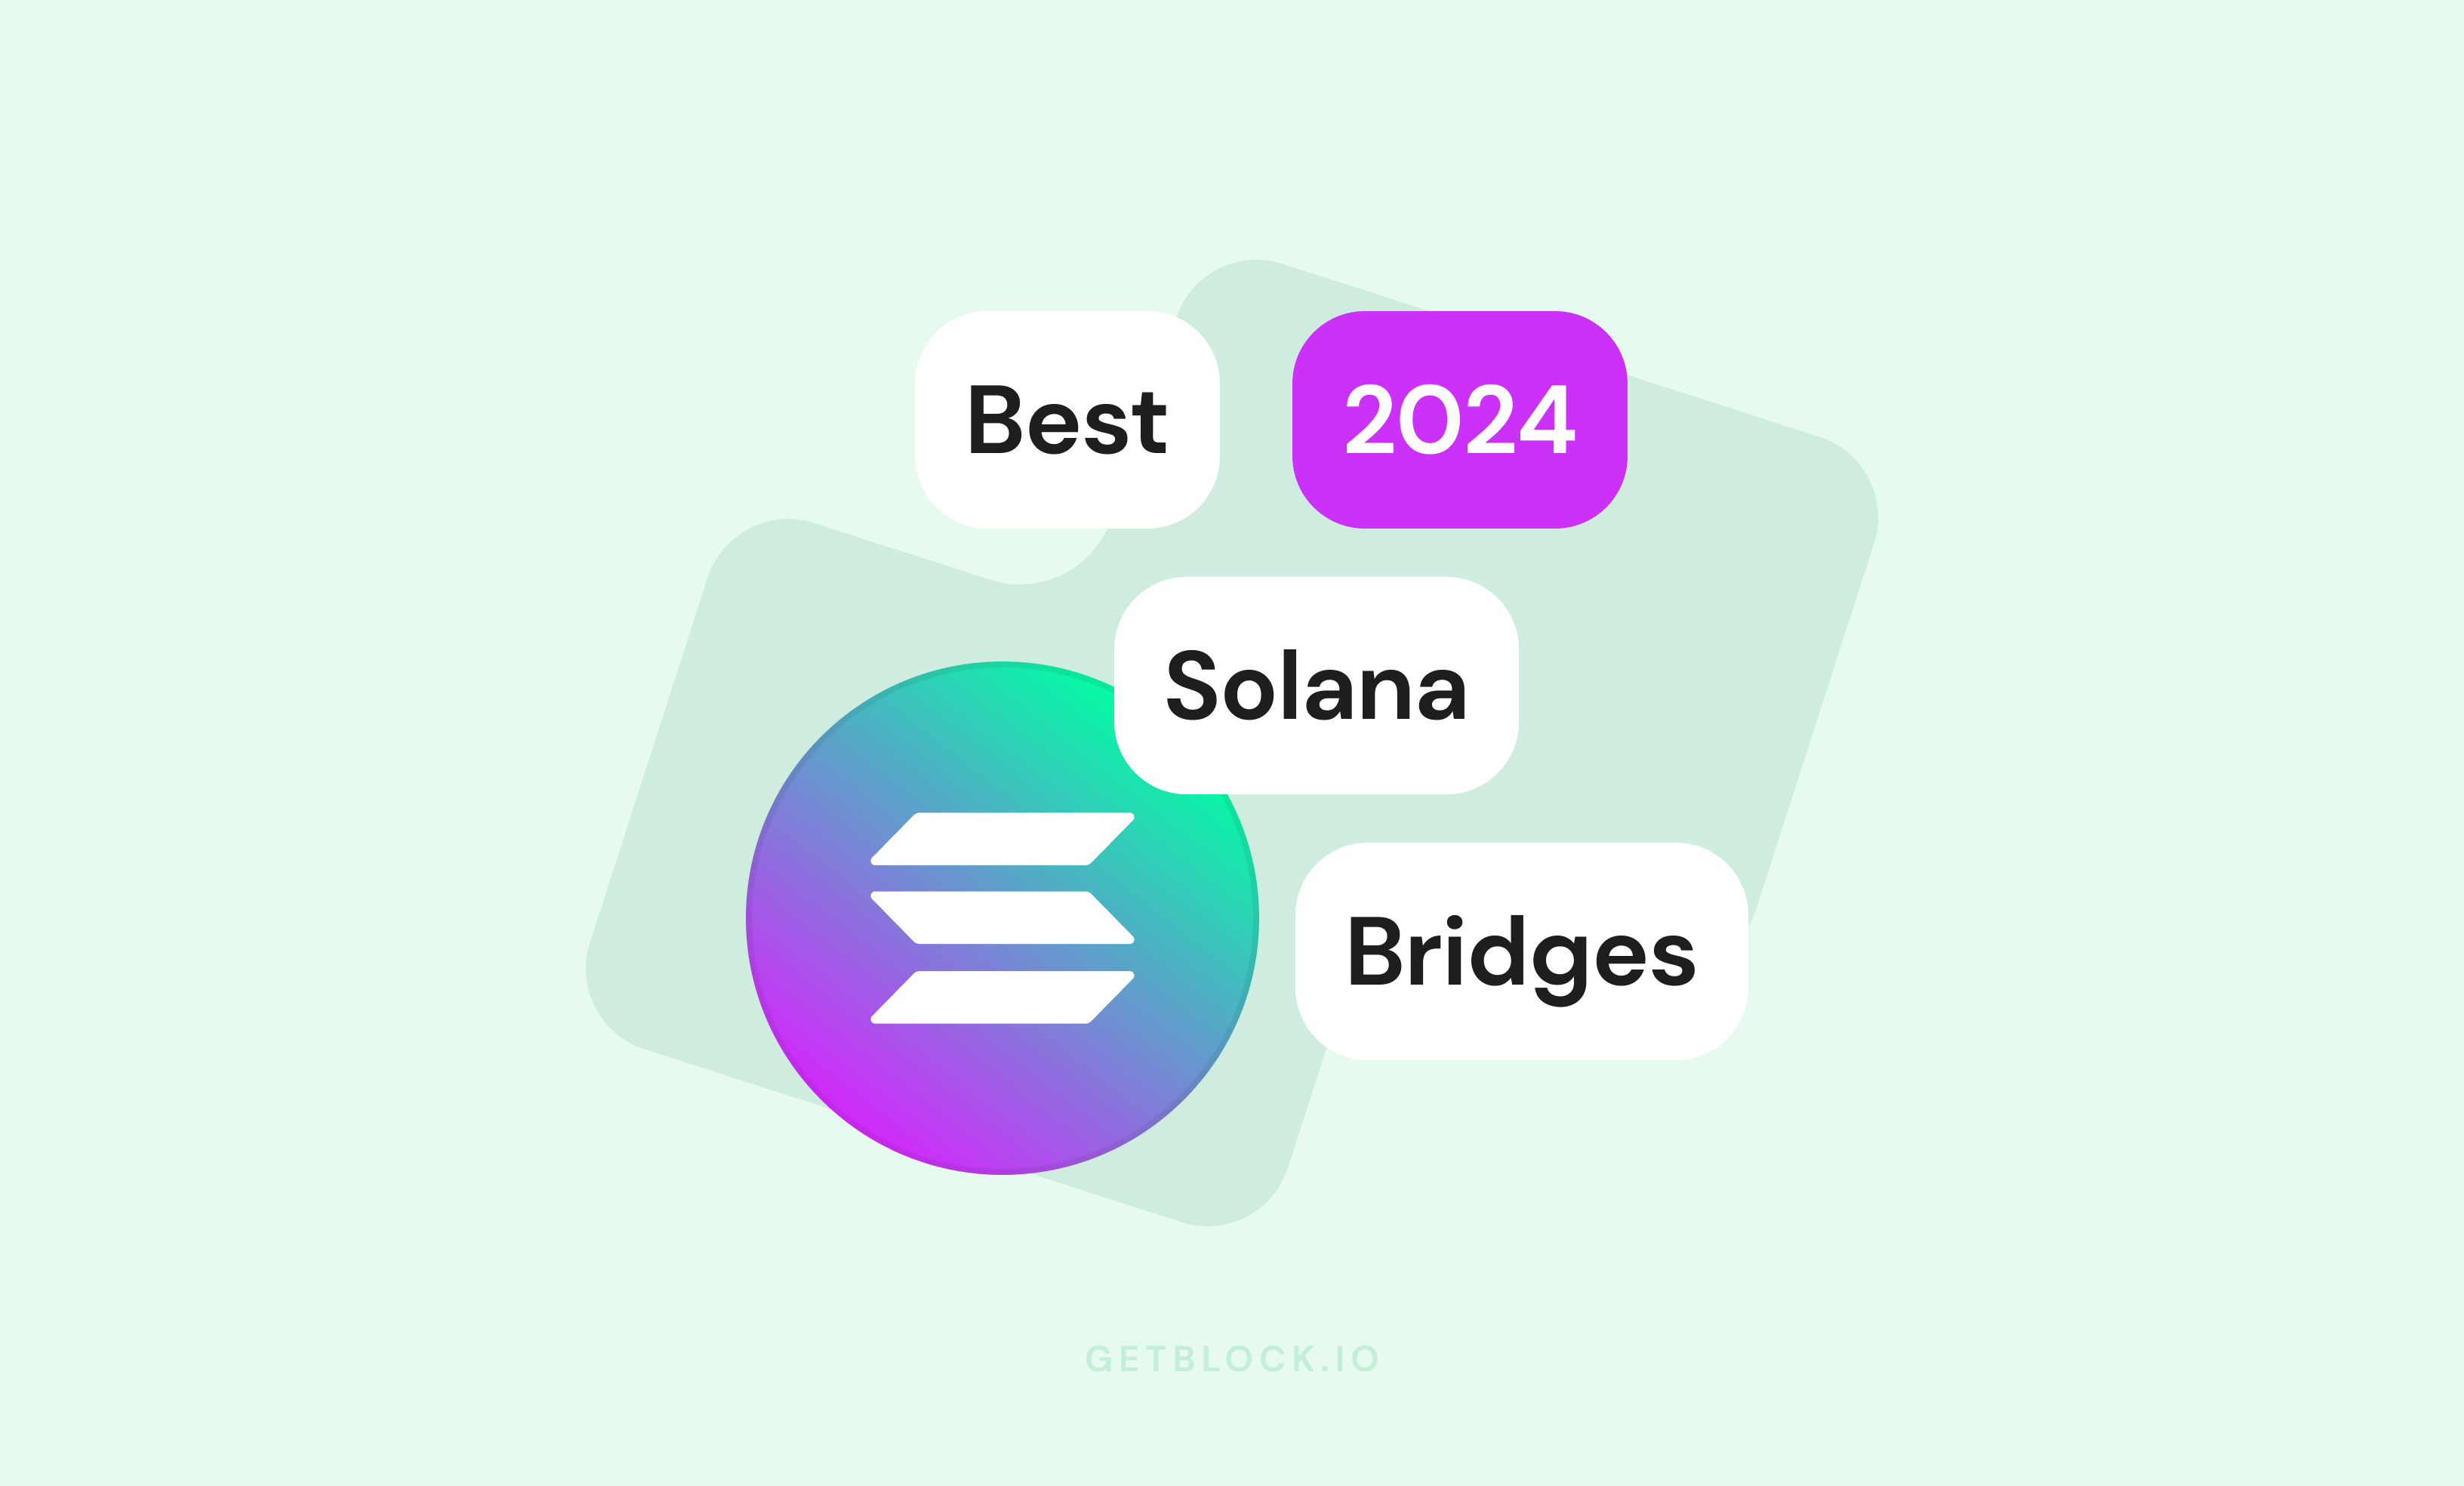
Master the art of moving your crypto assets to Solana blockchain safely and efficiently 🚀

🎯 What You’ll Learn Today
Are you tired of being stuck with your crypto on different blockchains? 😤 Want to explore the lightning-fast world of Solana but don’t know how to move your assets there? You’re in the right place!
This comprehensive guide will teach you everything about bridging crypto to Solana – from the basics to advanced strategies. By the end, you’ll be confidently moving your assets like a pro! 💪
Table of Contents
🔍 What is Solana and Why Should You Care?
The Solana Revolution 🚀
Solana isn’t just another blockchain – it’s a speed demon that’s changing the crypto game! Here’s why everyone’s talking about it:
🏃♂️ Lightning Speed:
- Processes 65,000+ transactions per second
- Transaction confirmation in under 1 second
- Makes Ethereum look like a turtle! 🐢
💰 Super Cheap Fees:
- Average transaction cost: $0.00025
- No more $50 gas fees nightmare
- Trade and interact without breaking the bank
🎮 Massive DeFi Ecosystem:
- 400+ active decentralized applications
- $648 million total value locked (TVL)
- 8th largest layer-1 blockchain by TVL
🌟 Developer-Friendly:
- Built with Rust programming language
- Advanced developer tools
- Growing ecosystem of innovative projects

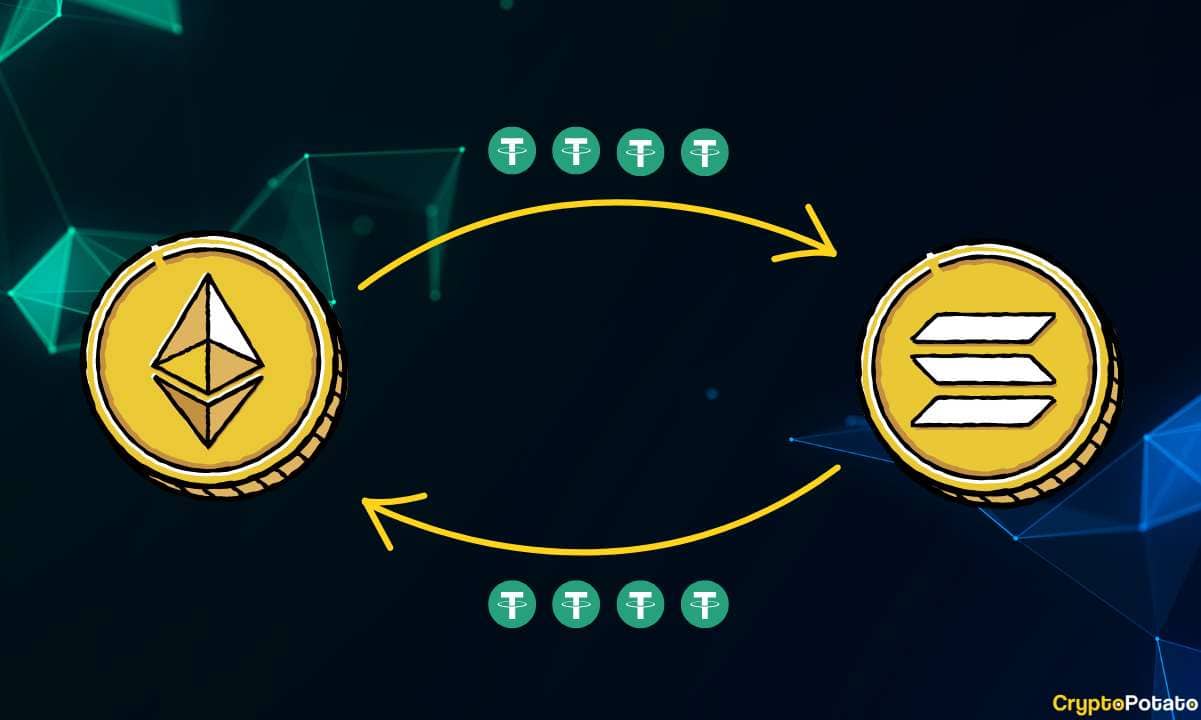
🌉 Understanding Crypto Bridges: Your Gateway to Solana
What Exactly is a Crypto Bridge? 🤔
Think of a crypto bridge like a magical portal that connects different blockchain worlds! 🌍✨
Here’s how it works:
- Lock: Your tokens get locked on the source blockchain
- Mint: Equivalent tokens are created on Solana
- Transfer: You receive your tokens on Solana
- Unlock: Original tokens can be redeemed when bridging back
Why Do We Need Bridges? 🌉
The Problem: Each blockchain is like an island 🏝️
- Ethereum has its own rules and tokens
- Solana has different standards
- They can’t naturally communicate
The Solution: Bridges act as connectors 🔗
- Move assets between different blockchains
- Maintain total supply (no new tokens created)
- Enable cross-chain DeFi opportunities
🏆 Top Solana Bridges in 2025
1. Portal Bridge (Formerly Wormhole) 👑
Why It’s #1:
- ✅ Supports 24+ blockchains
- ✅ Lowest fees (0.04% flat rate)
- ✅ Maximum fee cap of 1,000 USDC
- ✅ Highest liquidity and TVL
- ✅ Battle-tested security
Best For: Large transfers, multiple blockchain support
2. AllBridge 🌟
Key Features:
- ✅ Supports EVM and non-EVM chains
- ✅ Two main products:
- AllBridge Core: For stablecoins
- AllBridge Classic: For other assets
- ✅ User-friendly interface
- ✅ Competitive fees
Best For: Stablecoin transfers, beginners
📋 Complete Step-by-Step Guide: Bridge to Solana Using Portal
Prerequisites Checklist ✅
Before starting, make sure you have:
- Source wallet (MetaMask for Ethereum, etc.)
- Solana wallet (Phantom, Solflare, etc.)
- Crypto to bridge (ETH, USDC, USDT, etc.)
- Gas fees for both networks
- Stable internet connection
Step 1: Set Up Your Portal Bridge 🎯
- Visit Portal Bridge:
- Go to portalbridge.com
- ⚠️ Security Tip: Always double-check the URL!
- Select Your Chains:
- From: Choose your source blockchain (e.g., Ethereum)
- To: Select Solana
- Click the swap button if you need to reverse
Step 2: Connect Your Source Wallet 🔗
- Click ‘Connect Wallet’
- Choose your wallet provider:
- MetaMask (most popular)
- WalletConnect
- Coinbase Wallet
- Trust Wallet
- Approve the connection in your wallet
💡 Pro Tip: Make sure you’re on the correct network in your wallet!
Step 3: Select Your Token and Amount 💰
- Choose Your Token:
- Click “Select a Token” dropdown
- Popular options: ETH, USDC, USDT, WBTC
- Your balance will automatically display
- Enter Amount:
- Type the amount you want to bridge
- Leave some tokens for gas fees
- Check the fee estimate
📊 Fee Breakdown:
- Bridge Fee: 0.04% of amount
- Source Chain Gas: Varies by network
- Solana Fee: ~$0.00025
Step 4: Connect Your Solana Wallet 🌟
- Click ‘Connect’ for Solana wallet
- Select your Solana wallet:
- Phantom (recommended for beginners)
- Solflare (advanced features)
- Glow (mobile-friendly)
- Approve the connection
Step 5: Create Associated Token Account 🔧
What is this? Every token type needs a special “account” in your Solana wallet to receive it.
- Check if you need to create one:
- Portal will show if it’s required
- First-time users usually need this
- Create the account:
- Click “Create associated token account”
- Approve the small transaction (~$0.002)
- Wait for confirmation
Step 6: Execute the Bridge Transaction 🚀
- Review Everything:
- Source chain and token ✅
- Destination chain (Solana) ✅
- Amount and fees ✅
- Wallet addresses ✅
- Approve Token Spending:
- Click “Approve Token”
- Confirm in your source wallet
- Wait for transaction confirmation
- Start the Bridge:
- Click “Transfer”
- Confirm the transaction
- Pay the gas fee
Step 7: Monitor and Claim Your Tokens 👀
- Track Progress:
- Portal shows real-time updates
- Usually takes 5-15 minutes
- Don’t close the browser tab!
- Claim Your Tokens:
- Click “Redeem” when available
- Approve in your Solana wallet
- Pay the small Solana fee
- Verify Receipt:
- Check your Solana wallet balance
- Tokens should appear immediately
- Congratulations! 🎉

🏦 Alternative Method: Using Centralized Exchanges
When to Use CEX Bridge 🤔
Pros:
- ✅ Simple and familiar interface
- ✅ Customer support available
- ✅ Often cheaper for large amounts
- ✅ No smart contract risks
Cons:
- ❌ Requires KYC verification
- ❌ Not truly decentralized
- ❌ Withdrawal limits
- ❌ Platform dependency
CEX Bridge Process 📝
- Choose a CEX:
- Binance (largest volume)
- Coinbase (US-friendly)
- Kraken (European focus)
- FTX (advanced features)
- Complete KYC:
- Upload ID documents
- Verify phone/email
- Wait for approval
- Deposit to CEX:
- Send tokens from your wallet
- Wait for confirmations
- Check your CEX balance
- Withdraw to Solana:
- Select Solana network
- Enter your Solana address
- Confirm withdrawal
⚠️ Important: Always send a small test amount first!
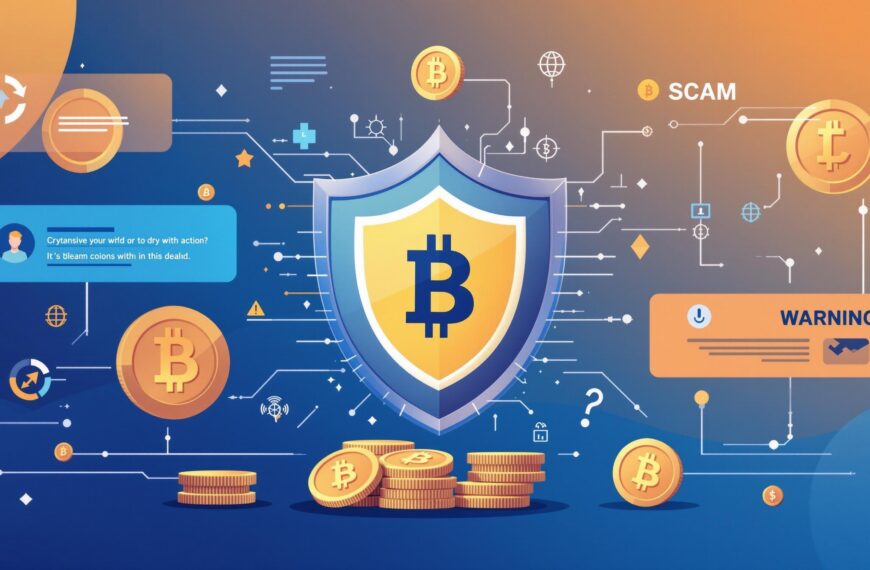
🛡️ Security Best Practices
Before You Bridge 🔒
✅ Essential Security Checklist:
- Verify URLs:
- Always type URLs manually
- Check for SSL certificates
- Bookmark official sites
- Use Hardware Wallets:
- Ledger or Trezor recommended
- Keep private keys offline
- Enable 2FA where possible
- Test with Small Amounts:
- Start with $10-50
- Verify the process works
- Scale up gradually
- Check Token Contracts:
- Verify token addresses
- Use official sources
- Avoid fake tokens
During the Bridge 🚨
🔴 Red Flags to Watch:
- Unusually high fees
- Requests for private keys
- Urgent time pressure
- Unofficial websites
- Too-good-to-be-true offers
🟢 Good Signs:
- Reasonable fees (0.1-0.5%)
- Clear transaction steps
- Official documentation
- Community recommendations
- Audit reports available
After Bridging ✅
- Verify Token Receipt:
- Check Solana wallet balance
- Confirm correct token amount
- Save transaction hashes
- Secure Your Wallets:
- Log out of bridge interfaces
- Clear browser cache
- Update wallet software
💡 Advanced Tips and Tricks
Timing Your Bridges ⏰
🕐 Best Times to Bridge:
- Low gas periods: Late night/early morning UTC
- Weekends: Generally lower network congestion
- Before major events: Avoid DeFi rush periods
📊 Gas Optimization:
- Monitor gas trackers (etherscan.io/gastracker)
- Set custom gas prices
- Use gas estimation tools
Choosing the Right Assets 🎯
🏆 Most Liquid Assets:
- USDC – Best for stablecoins
- ETH – Most reliable bridge
- USDT – High liquidity
- WBTC – Bitcoin exposure
💡 Pro Strategy:
- Bridge stablecoins during high volatility
- Bridge ETH during low gas periods
- Keep some SOL for transaction fees
Cost Optimization 💰
💸 Fee Breakdown:
- Bridge Fee: 0.04-0.3% of amount
- Source Gas: $5-50 (varies by network)
- Solana Fee: ~$0.00025
- Total Cost: Usually 0.1-0.5% + gas
🔧 Optimization Strategies:
- Batch larger amounts
- Use Layer 2 solutions first
- Time transactions during low gas
- Compare multiple bridges
🚨 Common Mistakes to Avoid
Rookie Errors 😅
- ❌ Wrong Network Selection:
- Always double-check source/destination
- Match wallet networks
- Verify before confirming
- ❌ Insufficient Gas:
- Keep extra ETH for gas
- Monitor gas prices
- Don’t cut it too close
- ❌ Impatience:
- Bridges take time (5-30 minutes)
- Don’t panic if delayed
- Don’t try to cancel mid-process
- ❌ Not Creating Token Accounts:
- Create associated accounts first
- Small fee prevents big problems
- Check requirements beforehand
Advanced Pitfalls 🕳️
- ❌ Bridge Congestion:
- Avoid peak DeFi hours
- Check bridge status pages
- Have backup plans
- ❌ Slippage Issues:
- Set appropriate slippage tolerance
- Consider market conditions
- Use limit orders when possible
- ❌ Smart Contract Risks:
- Research bridge audit reports
- Understand the technology
- Never invest more than you can lose
🔍 Troubleshooting Common Issues
Transaction Stuck? 🔄
Possible Causes:
- Network congestion
- Insufficient gas
- Bridge maintenance
- Wallet connection issues
Solutions:
- Check Transaction Status:
- Use blockchain explorers
- Contact bridge support
- Join community Discord
- Wait Patiently:
- Most issues resolve automatically
- Bridges have recovery mechanisms
- Don’t panic and make it worse
Tokens Not Showing? 👻
Common Fixes:
- Refresh Wallet:
- Close and reopen wallet
- Refresh browser
- Check internet connection
- Add Token Manually:
- Find token contract address
- Add custom token
- Check decimal places
- Verify Bridge Completion:
- Check transaction hash
- Confirm on both chains
- Contact support if needed
🌟 What’s Next After Bridging?
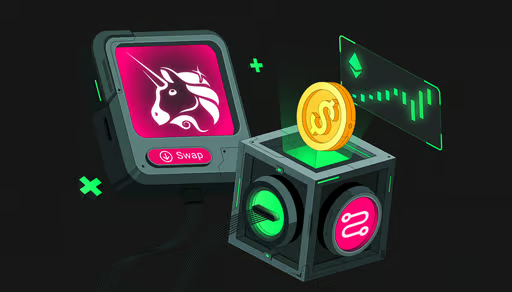
Explore Solana DeFi 🌊
🔥 Hot DeFi Protocols:
- Jupiter 🪐
- Best DEX aggregator
- Lowest slippage
- Multiple token swaps
- Raydium ⚡
- Automated Market Maker (AMM)
- Yield farming opportunities
- Serum integration
- Marinade 🥩
- Liquid staking protocol
- Earn rewards on SOL
- Maintain liquidity
- Mango Markets 🥭
- Decentralized trading
- Margin trading
- Advanced features
DeFi Strategies for Beginners 📈
- Start Simple:
- Swap tokens on Jupiter
- Provide liquidity to stable pairs
- Learn the ecosystem
- Yield Farming:
- Research APY rates
- Understand impermanent loss
- Start with blue-chip tokens
- Risk Management:
- Never invest more than you can lose
- Diversify across protocols
- Keep emergency funds
📊 Cost Analysis: Real Examples
Small Amount Bridge ($100) 💵
Portal Bridge Example:
- Amount: $100 USDC
- Bridge Fee: $0.04 (0.04%)
- Ethereum Gas: $15
- Solana Fee: $0.001
- Total Cost: $15.04 (15%)
Medium Amount Bridge ($1,000) 💰
Portal Bridge Example:
- Amount: $1,000 USDC
- Bridge Fee: $0.40 (0.04%)
- Ethereum Gas: $15
- Solana Fee: $0.001
- Total Cost: $15.40 (1.5%)
Large Amount Bridge ($10,000) 💎
Portal Bridge Example:
- Amount: $10,000 USDC
- Bridge Fee: $4.00 (0.04%)
- Ethereum Gas: $15
- Solana Fee: $0.001
- Total Cost: $19.00 (0.19%)
📈 Key Insight: Larger amounts are more cost-effective percentage-wise!
🎯 Bridge Comparison Table
| Bridge | Fee | Chains | Security | Speed | Best For |
|---|---|---|---|---|---|
| Portal | 0.04% | 24+ | ⭐⭐⭐⭐⭐ | Fast | Large amounts |
| AllBridge | 0.1-0.3% | 15+ | ⭐⭐⭐⭐ | Medium | Stablecoins |
| CEX | 0.1-0.5% | Many | ⭐⭐⭐ | Slow | Beginners |
🚀 Future of Solana Bridges
What’s Coming Next? 🔮
🌟 Upcoming Improvements:
- Lower fees through optimizations
- Faster transactions with new protocols
- More token support across chains
- Better user experience with simplified interfaces
- Enhanced security through better audits
🔧 Technical Advances:
- Zero-knowledge proofs
- Improved consensus mechanisms
- Cross-chain smart contracts
- Automated market makers
🎓 Key Takeaways
Remember These Golden Rules ✨
- 🔐 Security First:
- Always verify URLs and addresses
- Use hardware wallets when possible
- Test with small amounts first
- 💰 Cost Awareness:
- Larger amounts = better percentage fees
- Time your transactions for lower gas
- Compare bridge options
- ⏱️ Be Patient:
- Bridges take time to process
- Don’t panic if there are delays
- Keep transaction hashes safe
- 📚 Stay Informed:
- Follow bridge announcements
- Join community discussions
- Keep up with security updates
- 🎯 Start Simple:
- Begin with popular bridges
- Use well-known tokens
- Learn through experience
🔗 Useful Resources
Official Links 📖
Security Tools 🛡️
🎉 Conclusion
Congratulations! 🎊 You now have everything you need to confidently bridge your crypto assets to Solana. The world of lightning-fast transactions and ultra-low fees awaits you!
Remember:
- Start with small amounts to get comfortable
- Always prioritize security over speed
- The Solana ecosystem is vast and growing rapidly
- Your bridged assets open doors to amazing DeFi opportunities
Ready to take the plunge? 🏊♂️ Head over to Portal Bridge and start your Solana journey today. The future of decentralized finance is fast, cheap, and incredibly exciting!
👉 New to crypto? Don’t miss our Beginner’s Guide to Learn & Earn Crypto in 2025 – it’s the perfect next step after you bridge to Solana.
💡 Liked this guide? Bookmark CryptoView.live for more crypto tutorials, tips, and insights. We’re here to make your crypto journey simple and profitable!
Disclaimer:
Please note that I am a human and human can make mistakes and this information is for educational purposes only. Nothing in this article should be considered financial or investment advice. Cryptocurrencies are volatile and involve substantial risk of loss. Always do your own research before making any investment decisions. Consult with a qualified financial advisor for personalized guidance.
Please note:–
CryptoView.live may contain links to third-party websites or external resources purely for informational purposes. We do not control or endorse the content, accuracy, or offerings of any third-party site linked within our platform. Visitors are strongly encouraged to conduct their own research before engaging with any services or content mentioned. The views expressed on CryptoView.live do not constitute financial advice and reflect the opinions of the authors, not necessarily those of the platform itself.
What does bridging crypto to Solana mean?
Bridging crypto to Solana means transferring your tokens from another blockchain—like Ethereum or BNB Chain—onto the Solana network using a cross-chain bridge protocol. This allows you to access Solana-based DeFi platforms, lower fees, and faster transaction speeds.
Is it safe to bridge assets to Solana?
Yes—if you’re using reputable and audited bridges like Wormhole or All bridge. Still, always double-check URLs, avoid phishing scams, and consider using cold wallets for large transfers.
Which are the best bridges for Solana in 2025?
Top bridge options include:
Wormhole – Trusted and widely adopted across ecosystems
Allbridge – User-friendly with multi-chain compatibility
Portal Token Bridge – Low fees and fast settlement times All three support major tokens and wallets.
Do I need a Solana wallet to bridge assets?
Absolutely. You’ll need a Solana-compatible wallet like Phantom, Solflare, or Backpack to receive the bridged tokens. Set it up before initiating the transfer.
Are there any fees involved in bridging?
Yes—most bridges charge a small service fee and network gas fees on the source chain. Solana’s low on-chain fees make it affordable after the initial bridge.
 By
By


777milagrocasino? Yeah, I’ve played there. Nothing crazy, but it’s a decent spot. Good enough to kill some time and maybe win a little something. Check it out if you’re bored. 777milagrocasino